Clicking on the eBay link and making a purchase may result in this site earning a commission from the eBay Partner Network.

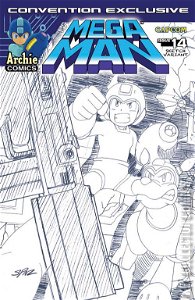
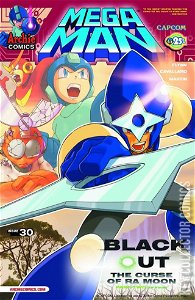
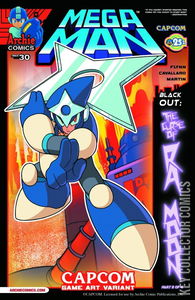
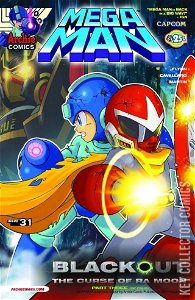
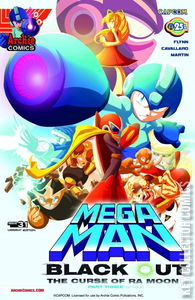
By default Key Collector searches for Standard Cover Key Issues.
Adjust the "Variants" and/or "Non-Key Issues" search filters above for additional content:
At Key Collector, our primary focus is on unearthing those rare Standard Cover Key Issues for you. However, the world of comic collectibles is vast and varied. We want to make sure you have the tools to explore it all!